 Pin it
 My daughter discovered Cookie Run Kingdom during a rainy afternoon, and suddenly our kitchen became her inspiration lab. She'd sketch cookie designs between bites of store-bought treats, frustrated that nothing matched the elegant simplicity of Pure Vanilla Cookie. One weekend, I decided to finally crack the code, and what emerged was a recipe that captures that character's serene, elegant aesthetic through glossy royal icing and buttery vanilla perfection. The first batch cooled on our counter like little edible portraits, and watching her face light up made every piping bag worth the effort.
I'll never forget decorating these with my daughter's friends at her ninth birthday party. Chaos erupted almost immediately—food coloring spilled, piping bags got the squeeze wrong, and somehow blue icing ended up on someone's nose. But by the end, lined up on the cooling rack, they looked like tiny edible masterpieces, each one unique in its imperfection. The kids packed them in tissue paper like they were made of spun sugar, and three parents texted me the recipe the next day.
Ingredients
- All-purpose flour: Use 315 grams by weight if you have a scale—it prevents the dense, tough cookies that come from scooping flour directly into the measuring cup.
- Unsalted butter: Softened to room temperature means it creams properly with sugar, creating that light, fluffy base; cold butter leads to tough, dense results.
- Granulated sugar: This feeds the structure and helps cookies spread just enough for thin, snappy edges.
- Pure vanilla extract: Don't reach for imitation; the real thing carries those vanilla bean notes that make people say 'what is that amazing flavor.'
- Meringue powder: This stabilizes royal icing without raw eggs, and it whips up faster than traditional egg white versions.
- Gel food coloring: Liquid food coloring waters down icing; gel keeps the consistency thick and glossy while delivering vibrant color.
Tired of Takeout? 🥡
Get 10 meals you can make faster than delivery arrives. Seriously.
One email. No spam. Unsubscribe anytime.
Instructions
- Build the dry foundation:
- Whisk flour, baking powder, and salt together so the leavening distributes evenly. This one-minute step prevents streaky, underbaked spots in your finished cookies.
- Cream butter and sugar:
- Beat until the mixture looks pale and fluffy, about 2–3 minutes. You'll see it go from grainy to cloud-like, which means air is getting trapped—that's your ticket to tender cookies.
- Build flavor with wet ingredients:
- Add the egg, vanilla, and milk one at a time, mixing gently. The milk seems small, but it adds moisture that keeps these cookies soft inside despite crispy edges.
- Bring it together:
- Mix dry into wet until the dough just comes together; overmixing develops gluten and toughens the final texture. You want a soft, slightly sticky dough.
- Chill strategically:
- Flatten dough into disks and wrap them so they chill evenly and completely. Cold dough holds sharp edges and prevents excessive spreading in the oven.
- Prepare your workspace:
- Preheat to 350°F and line sheets with parchment. This oven temperature is precise—too hot, and edges burn before centers bake; too cool, and you get pale, cakey results.
- Roll and cut with intention:
- Work on a lightly floured surface, keeping your dough 1/4-inch thick for even baking. A thicker cookie stays chewy; thinner means crispier edges with a tender center.
- Space them right:
- Leave 1 inch between cookies; sugar cookies spread more than you'd expect, and crowded sheets create connected blobs.
- Bake to golden edges:
- Watch for edges to turn light golden—this takes 10–12 minutes. The centers may look slightly underbaked; they'll set as they cool, leaving you with that perfect snap-and-tender texture.
- Cool in stages:
- Leave cookies on the hot sheet for 5 minutes so they firm up, then move to a wire rack. This prevents breakage and ensures even cooling.
- Create royal icing magic:
- Beat powdered sugar, meringue powder, vanilla, and water until glossy and smooth. Start with 4 tablespoons of water and add more drop by drop; you want it thick enough to hold lines but flow enough to look glossy.
- Tint thoughtfully:
- Divide icing into bowls before adding gel coloring so you can mix shades easily. A little coloring goes far—start with a toothpick dab and build up.
- Decorate like an artist:
- Use piping bags fitted with fine tips for detail, or squeeze bottles for quick coverage. Let each layer dry for a few minutes before layering colors so they don't muddy together.
- Set and store:
- Allow icing to dry completely—about 2–3 hours or overnight—so cookies become stackable and gift-ready. Store in an airtight container; they stay fresh for a week.
 Pin it
 These cookies became my daughter's language when words felt too clumsy. She'd decorate them quietly for classmates going through rough days, sliding them into lunchboxes like edible wishes. That's when I realized this recipe wasn't just about vanilla and icing—it was about creating something beautiful enough to give away.
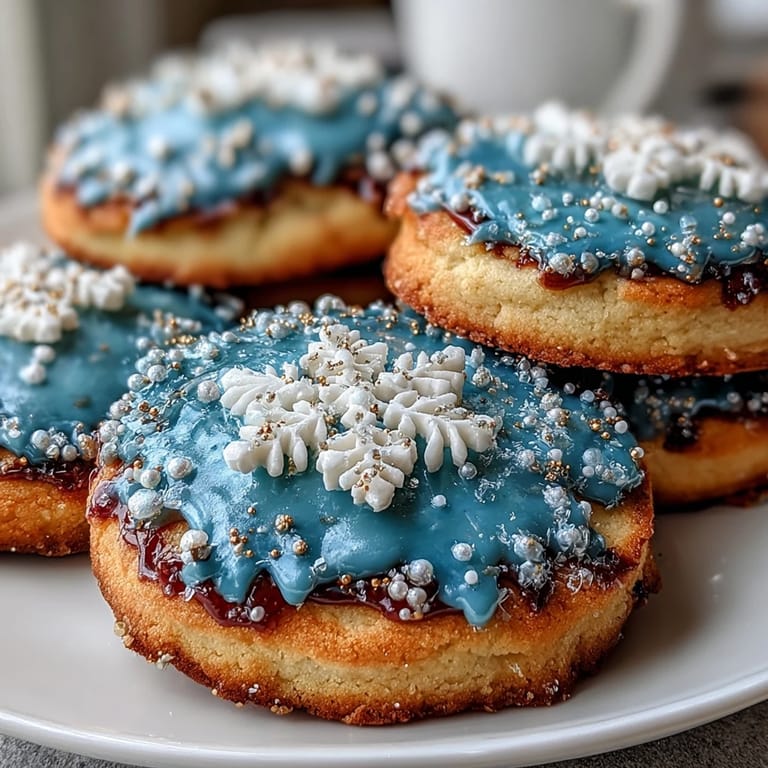
The Pure Vanilla Cookie Aesthetic
If you're drawn to the Cookie Run Kingdom theme, embrace the character's elegant minimalism through color choices. Soft blues, clean whites, and touches of gold or pale yellow create that serene, magical look without overwhelming the delicate vanilla flavor. The icing becomes your canvas—use blue in small deliberate shapes, white for clean lines, and gold for accents that catch the light. You don't need busy designs; sometimes a thin blue border and a single gold dot reads as more sophisticated than chaos.
Making These Work for Parties and Gifts
Royal icing that's fully set turns these cookies into edible art that survives travel, stacking, and even enthusiastic hands. I've shipped these to family across states tucked between parchment layers in a sturdy box, and they arrived completely intact. The hardness also means you can make them days ahead, which transforms a party from stressful to manageable—bake on Thursday, decorate Friday, serve Saturday without last-minute panic.
Troubleshooting Your Vanilla Cookie Journey
If your cookies spread too much, your butter was too soft or your oven temperature runs cool; chill dough longer and check your oven with a thermometer. If icing looks dull instead of glossy, you've either added too much water or not beaten it long enough. If decorating feels impossible, thinner icing flows easier for beginners, though it sets slower.
- Save thick icing for piping details; use thinner icing for quick base coating.
- Let each color dry before overlaying another shade to prevent muddy blending.
- Room temperature cookies accept icing best—cold cookies cause icing to crack and slip.
 Pin it
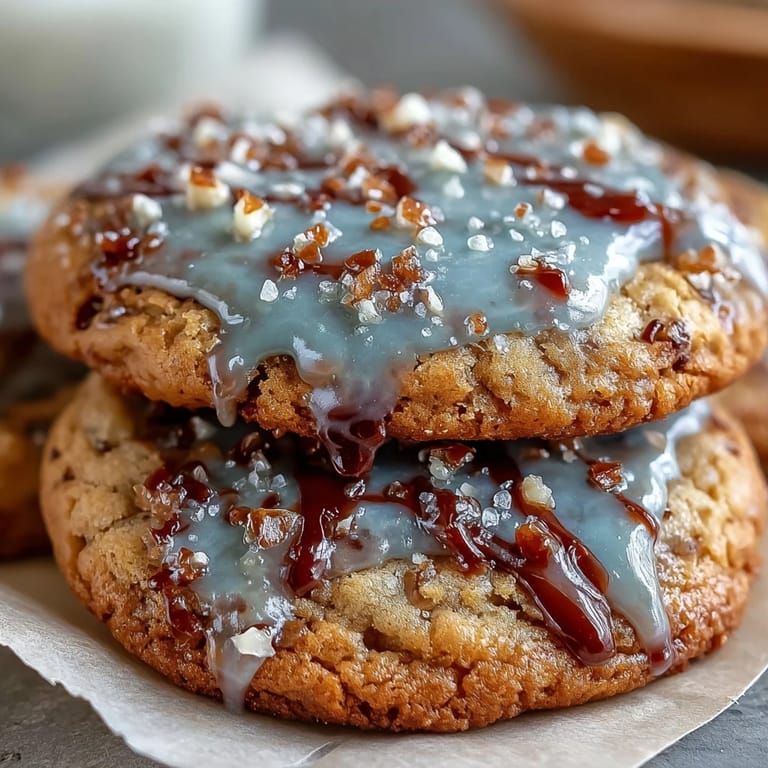
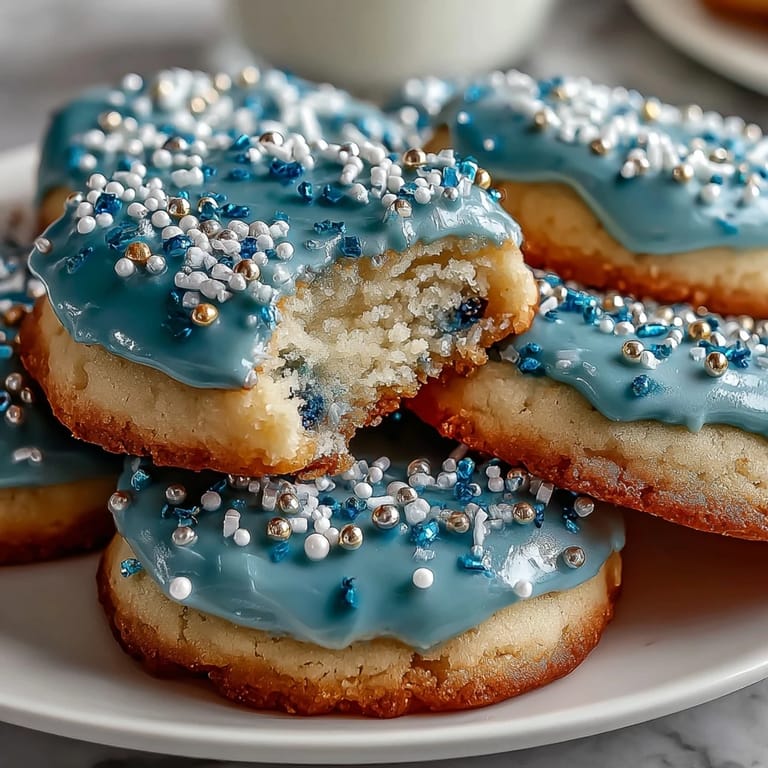
 These cookies taste like vanilla should—clean, genuine, and elegant—especially when topped with glossy icing that catches the light. Make them for someone who's never tasted homemade goodness, and watch their expression shift.
Common Questions
- → What gives these cookies their vanilla flavor?
Pure vanilla extract is added to both the sugar cookie dough and royal icing, providing a rich and aromatic vanilla taste.
- → How is the dough prepared before baking?
The dough is mixed until just combined, divided, flattened, wrapped, and chilled for at least an hour to develop a tender texture and prevent spreading.
- → What is royal icing made from?
Royal icing is made by mixing powdered sugar, meringue powder, pure vanilla extract, and water, beaten until smooth and glossy for decorating.
- → How long do these cookies stay fresh?
Stored in an airtight container at room temperature, the cookies remain fresh for up to one week.
- → Can the icing be colored?
Yes, gel food coloring can be added to the royal icing to create a range of decorative colors suited for themed designs.